

Picture the scene…sitting at a potential client’s kitchen table to discuss the new design and associated costs and the inevitable question comes.
"The other chap said he could do it for half that."
I don't argue. I don't get defensive. I've learned that the quickest way to answer that question is to start showing them some previous work.
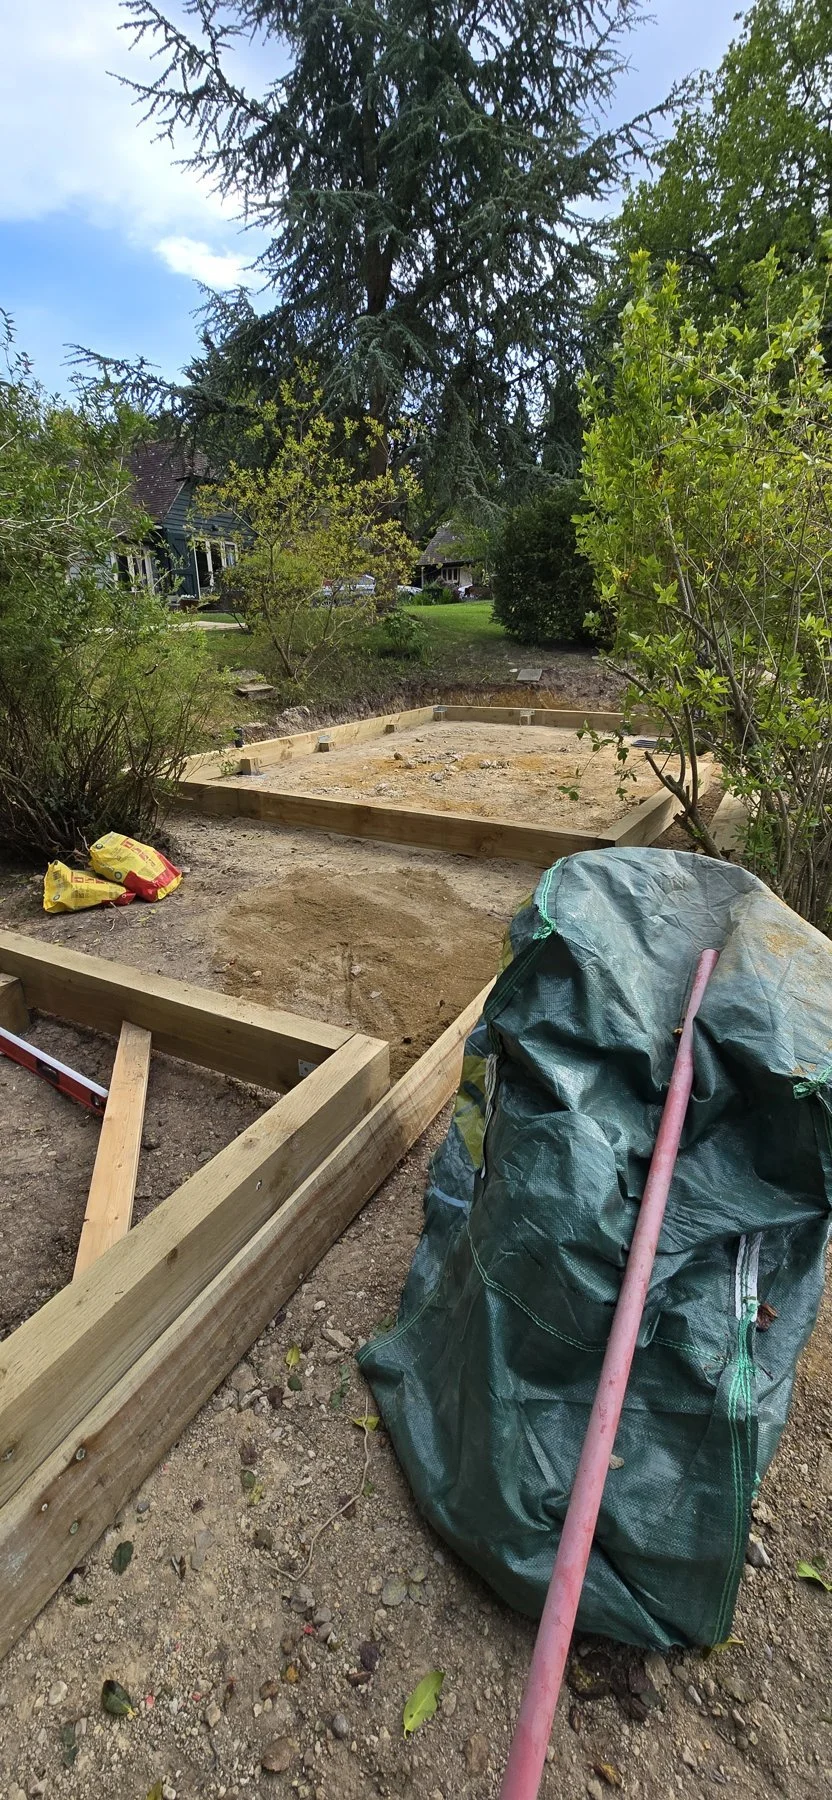
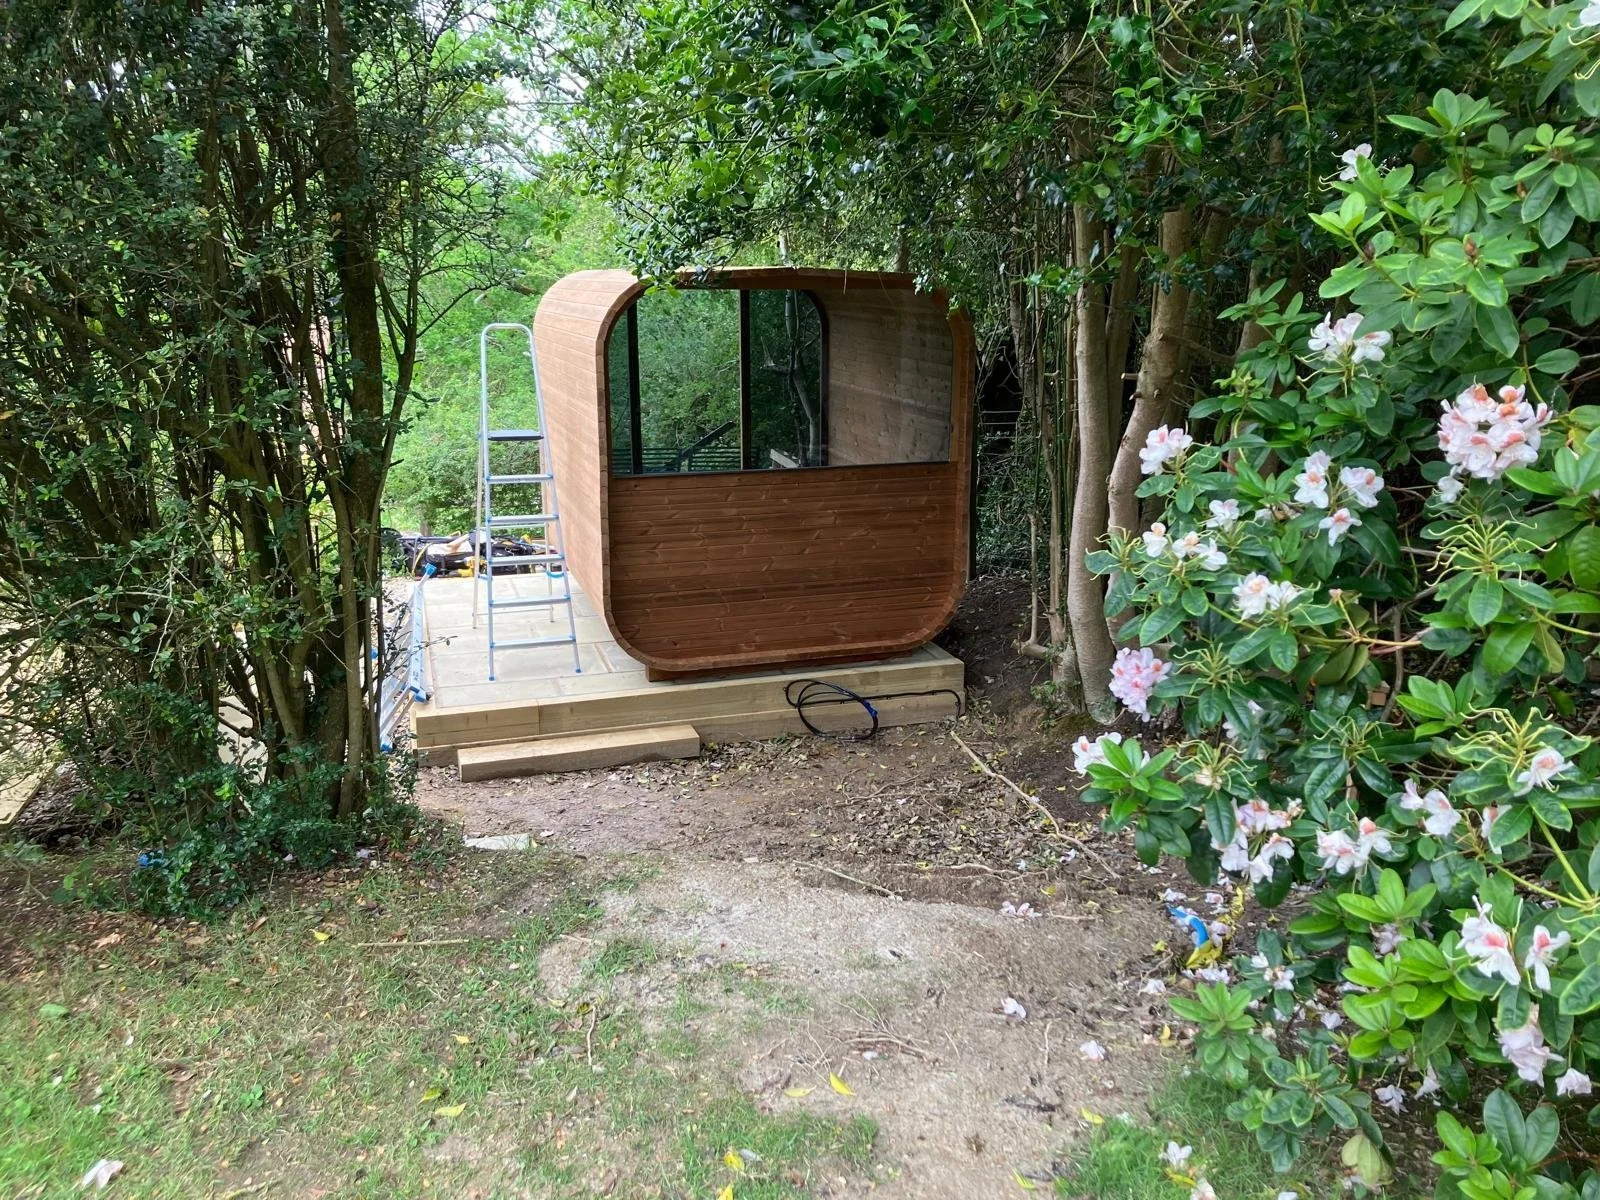
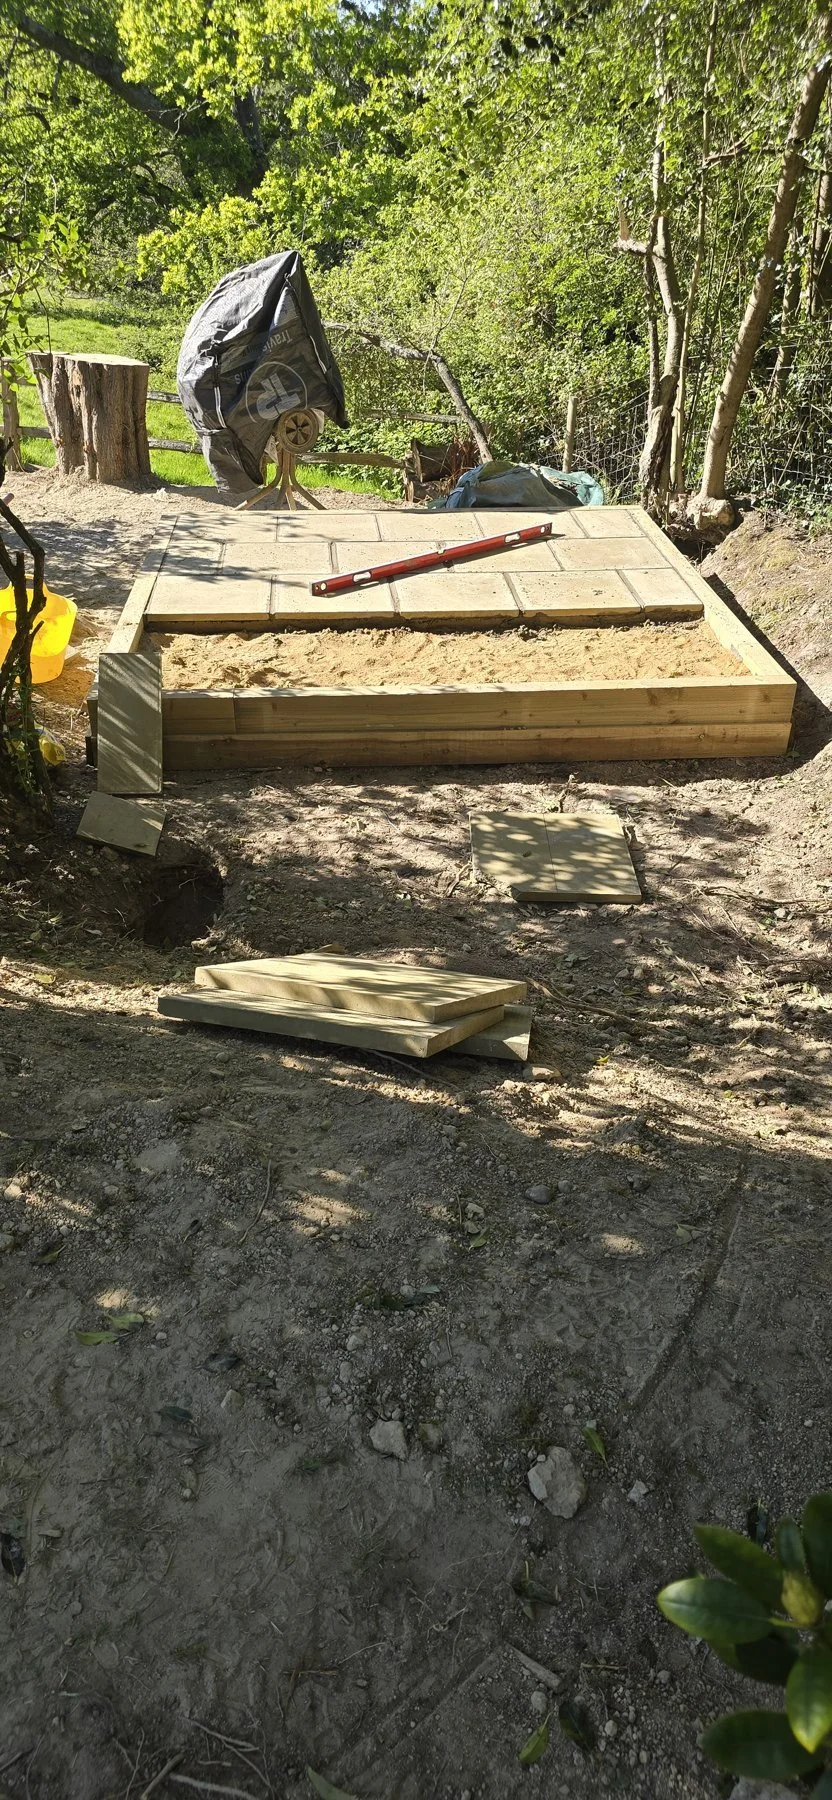
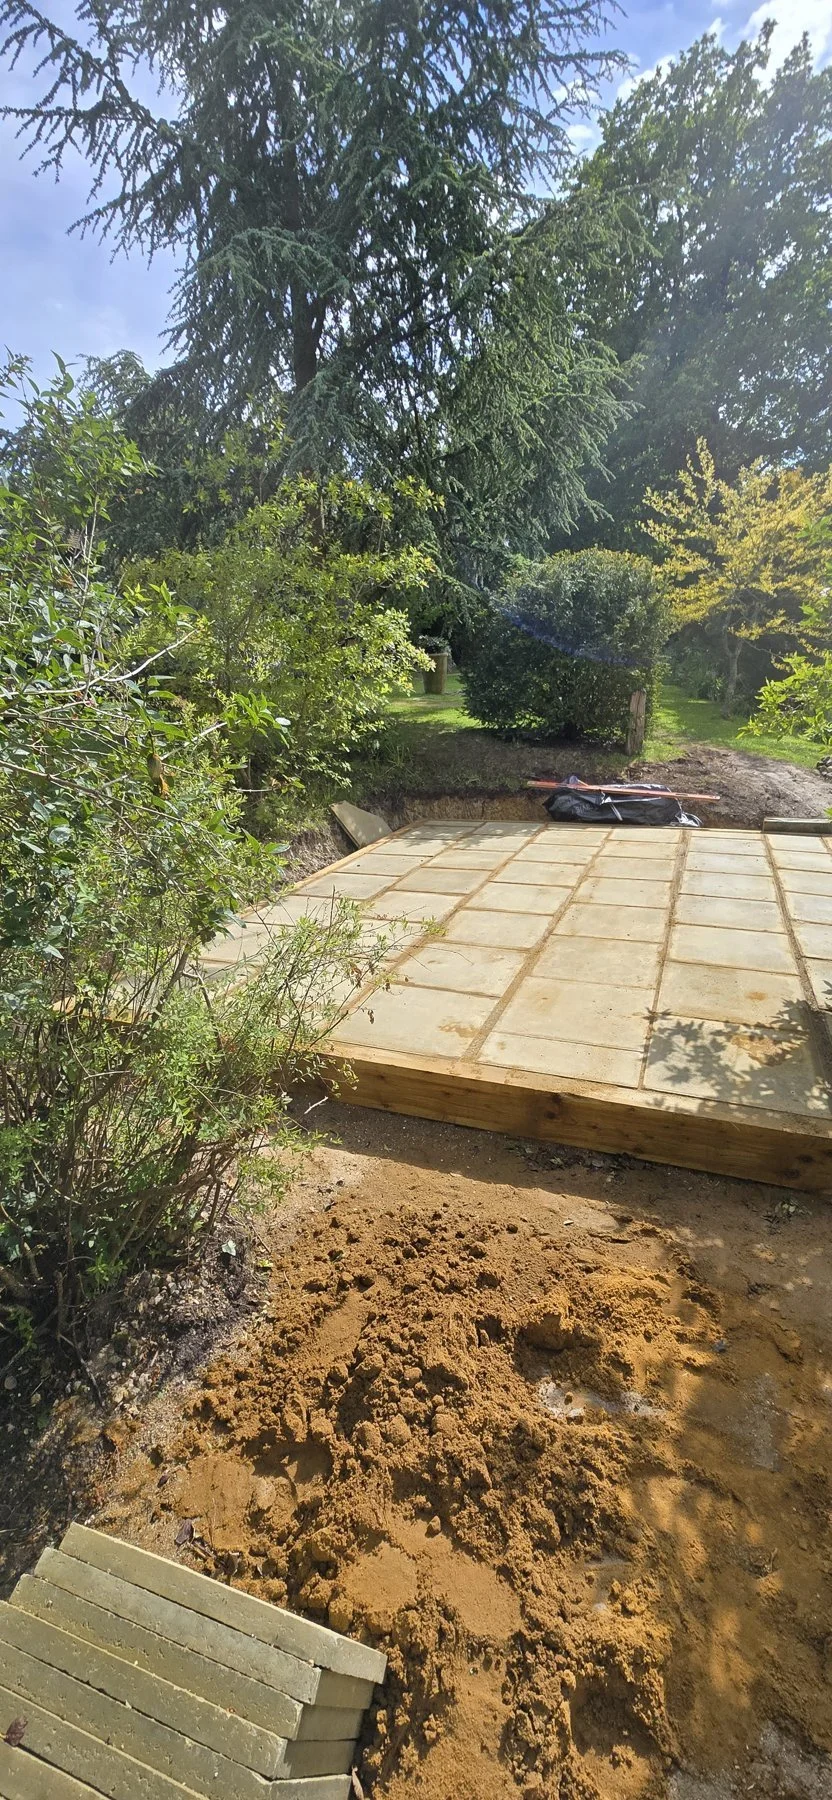
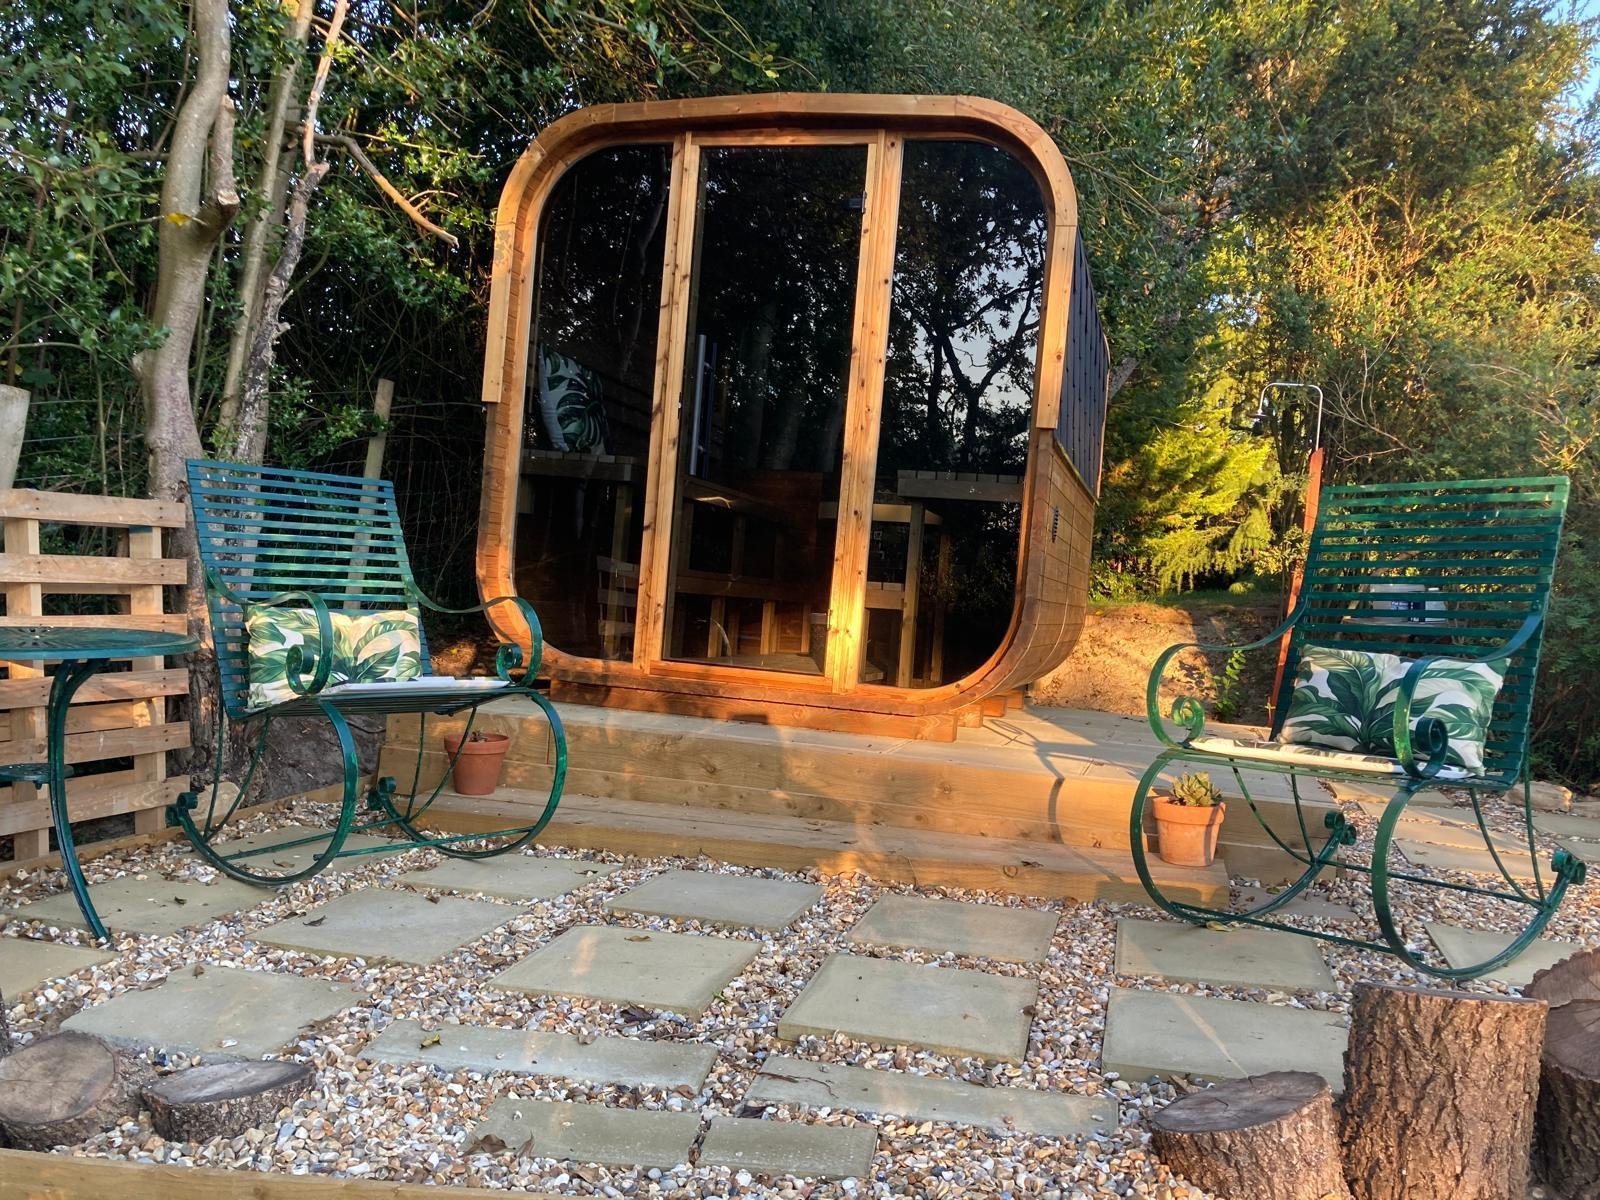
The photos in this post come from one garden where I built two raised patios, both framed in timber sleepers: one for a gazebo and one for a sauna. Raised or at ground level, the order doesn't change. On the gazebo base it went: dig down to firm ground, around 150mm of MOT Type 1 laid and compacted, a layer of sand over the top to give a level base, then every slab bedded on mortar. The sleepers just hold the edges.
Because here's the thing nobody tells you about a patio. The bit you walk on, the bit you chose from the brochure, the bit everyone photographs? That's about 20% of the job. The other 80% is underground. You'll never see it again once it's laid. And it's the only part that decides whether your patio still looks like this in 20 years, or starts rocking, sinking and holding puddles by next winter.
This is a walk through that 80%. What goes in, how deep, and why it matters. So the next time you're comparing quotes, or considering doing it yourself, this is what you need to know.
The Dig
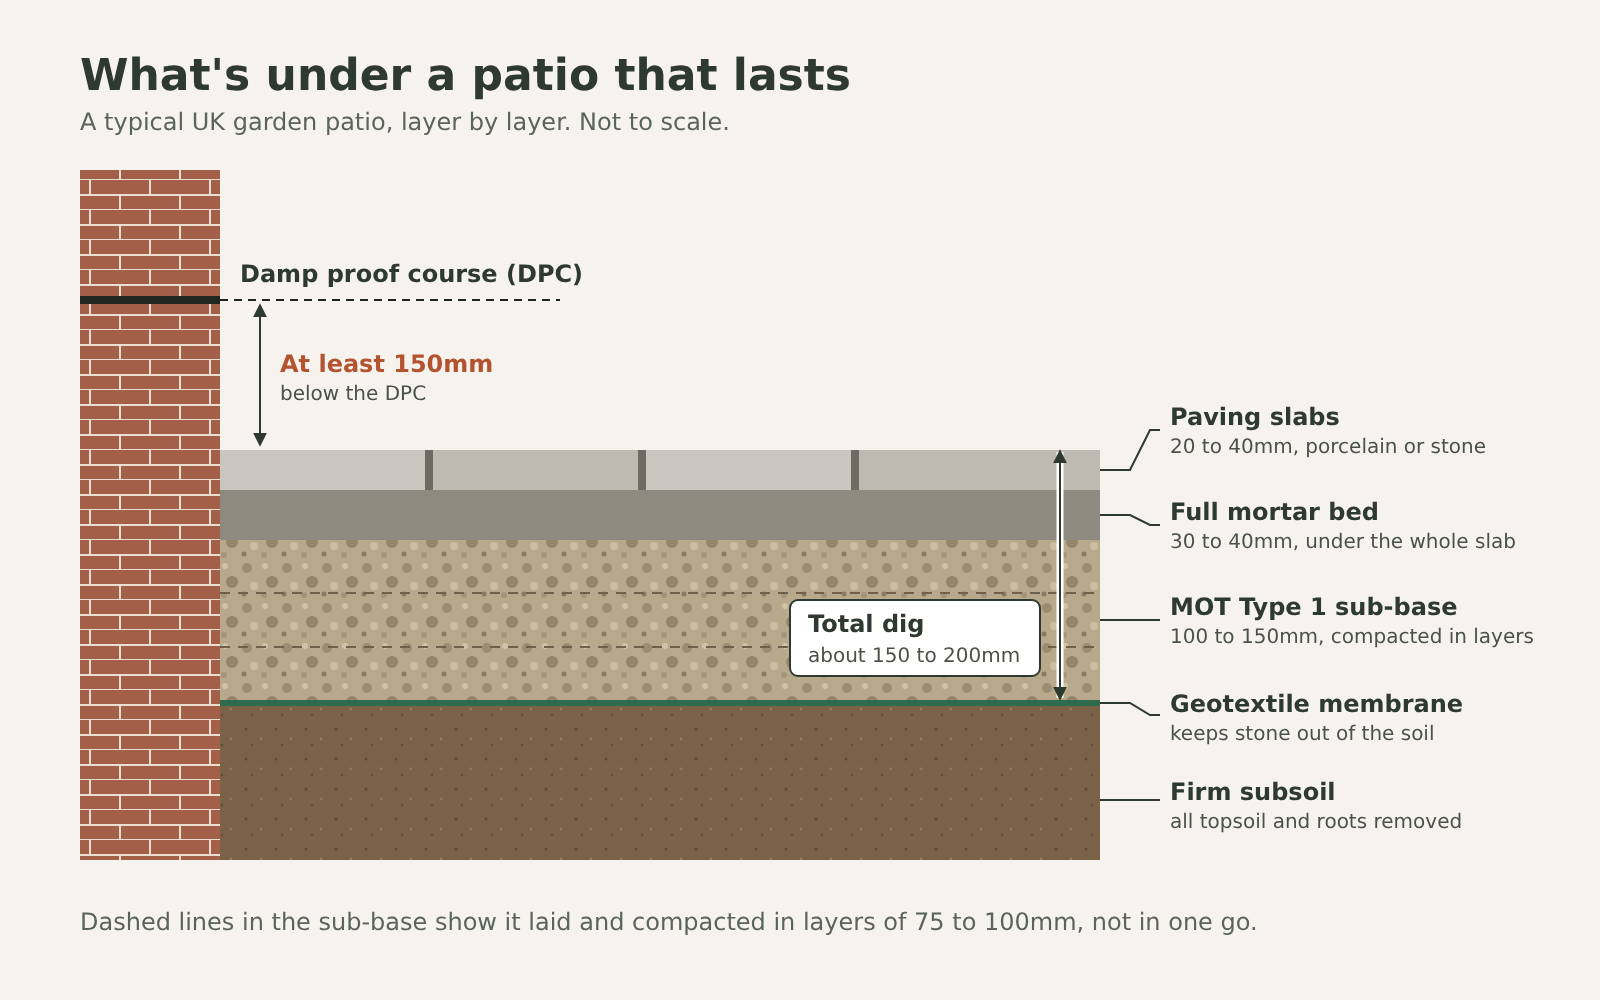
How deep should you dig for a patio? For a standard garden patio on firm ground, I dig out roughly 150 to 200mm below where the finished surface will sit. On soft ground or clay, it goes deeper.
That number isn't plucked from the air. It's the stack of everything that has to fit underneath:
Paving (porcelain or natural stone) is somewhere between 20 to 40mm
Mortar bed (and not dot and dab) should be approximately 30 to 40mm
MOT Type 1 Sub base in the region of 100 to 150mm deep. This serves as your solid foundation
Geotextile membrane works to suppress ground (not air) weeds and provides some stability above
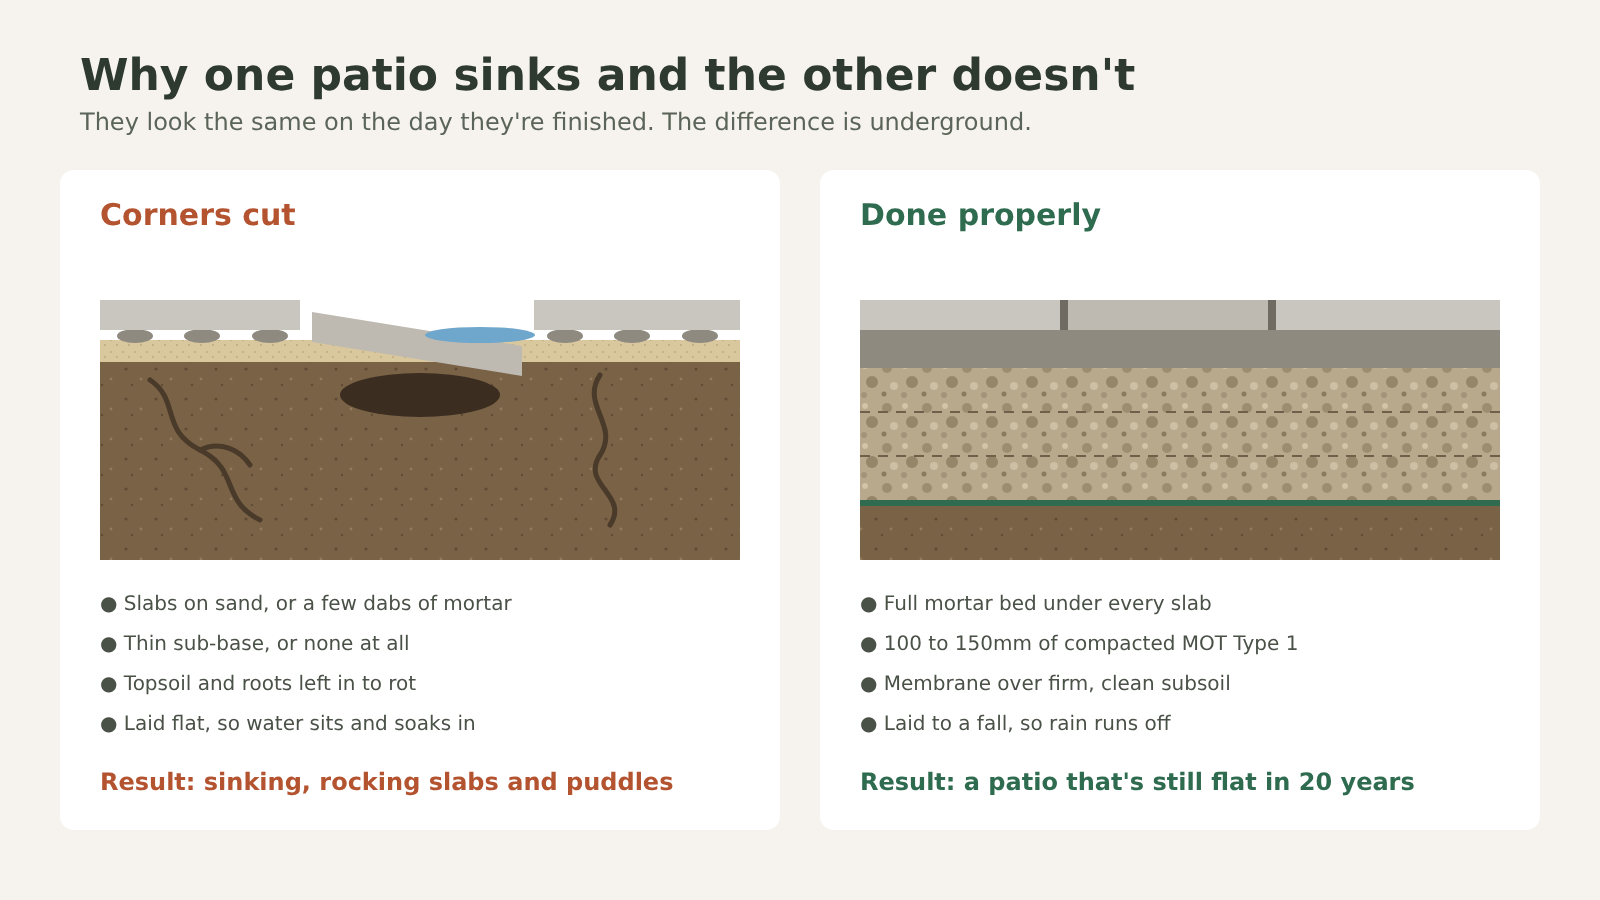
The diagram below provides a cross section of the build up:
The dig is also where the first corners get cut. All the topsoil has to come out, and every root and bit of organic matter with it. Organic material rots. When it rots, it shrinks, and whatever is sitting on it goes down with it.
There's one more depth that matters before a spade goes in: the damp proof course on the house. The finished patio needs to sit at least 150mm below it, so rain can't splash up above the DPC and into your walls. If a patio is level with the back door step, ask why.
Sub-base
What should go under a patio? A compacted layer of MOT Type 1, a crushed stone with a mix of sizes from dust up to about 40mm. The mix matters. The fines lock around the bigger stones when it's compacted, so it forms a solid, load-bearing layer that still lets water through.
For a patio that only takes foot traffic, 100mm of compacted sub-base is the minimum I'd lay. On clay, on soft or made-up ground, or anywhere that gets heavy use, I go to 150mm or more.
This is where a cheaper quote usually saves its money. Fifty millimetres less sub-base across a 30 square metre patio is around three tonnes less stone, less muck away, and a day less labour. You can't see the difference on day one. You'll see it in year two.
Compaction
Loose stone isn't a foundation. It's a pile.
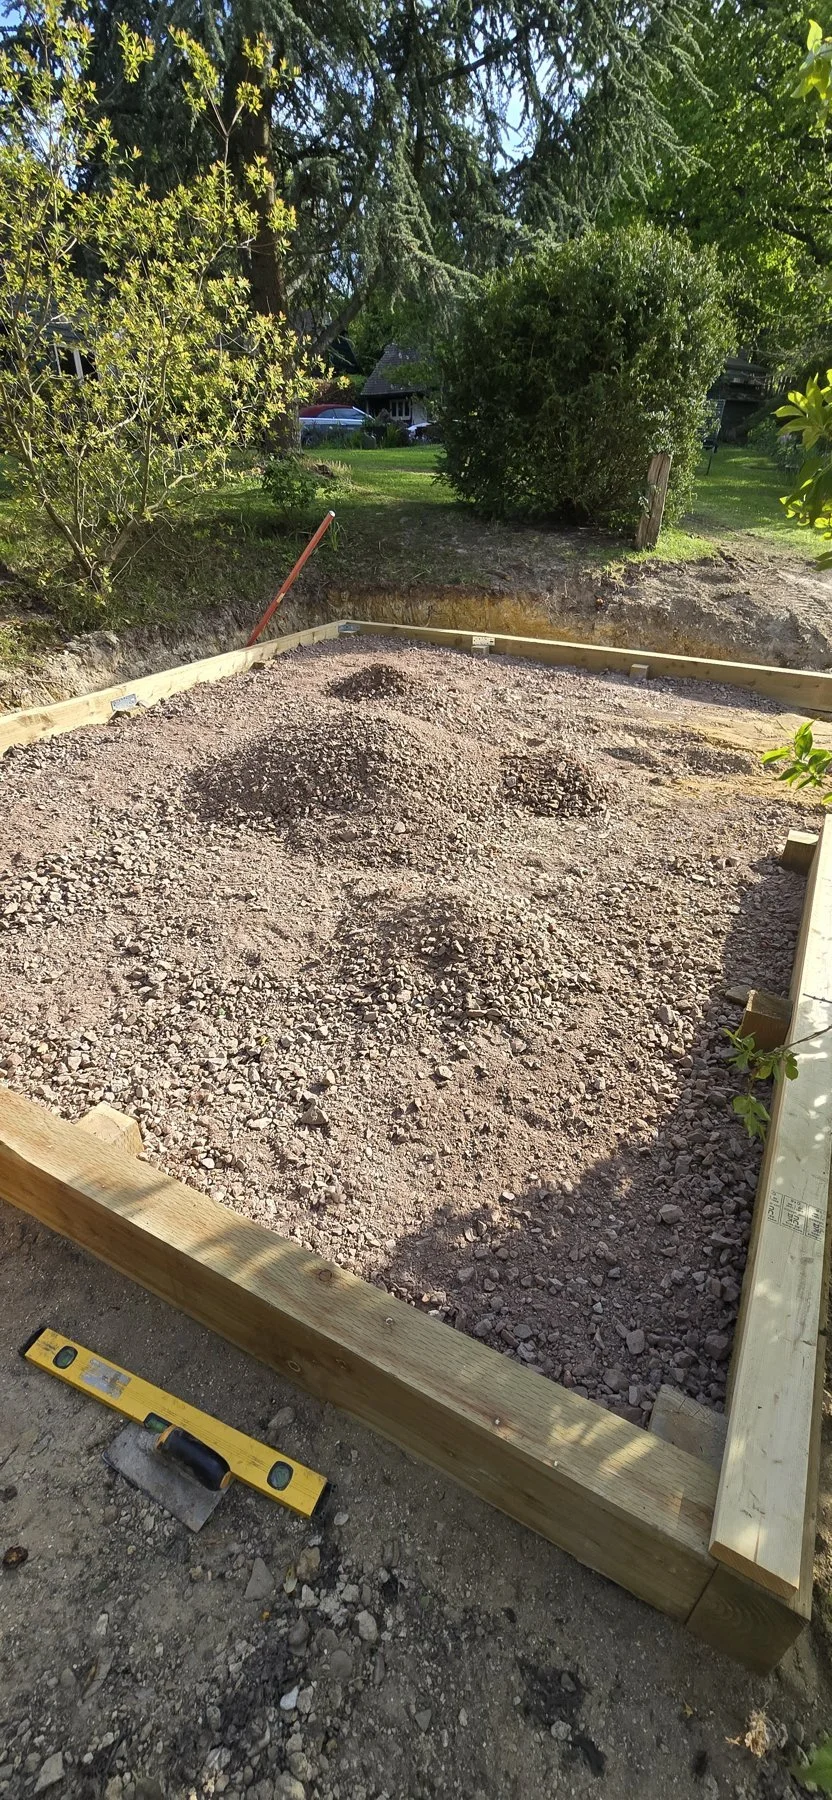
The sub-base goes down in layers of no more than about 75mm to 100mm at a time, and each layer gets gone over with a plate compactor, several passes, until it's tight. Laying it all in one go and running the plate over the top only compacts the top. The bottom stays loose, and settles later.
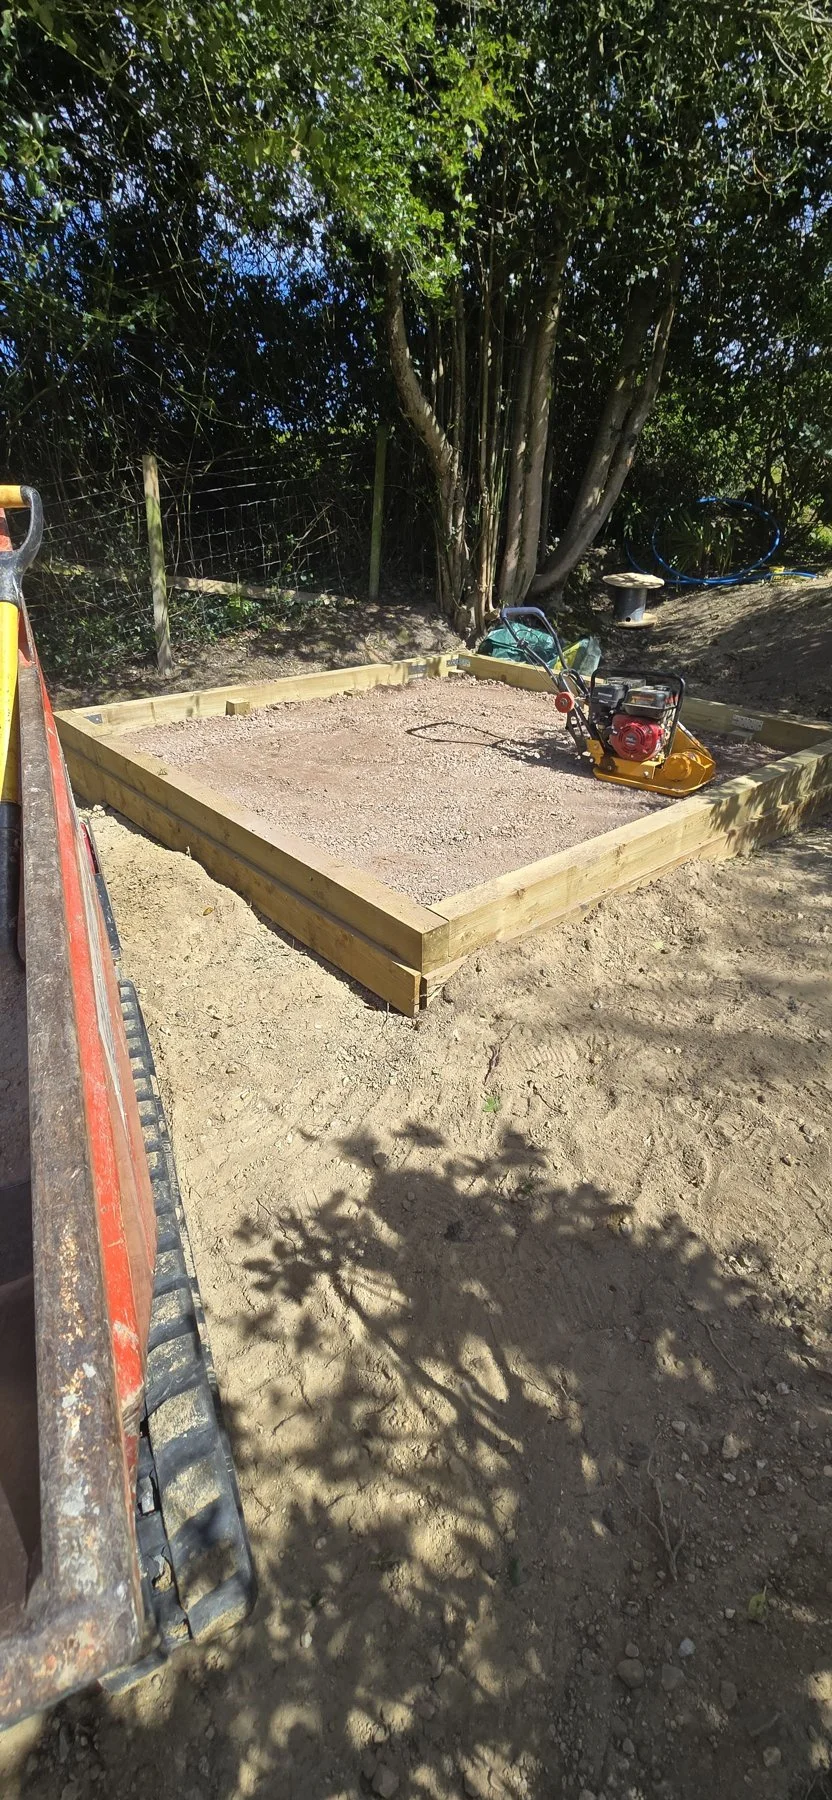
That compacted base provided a solid base for the chosen paving stones and the outdoor sauna.
The Fall
Why does my patio hold water? Almost always, because it was laid flat.
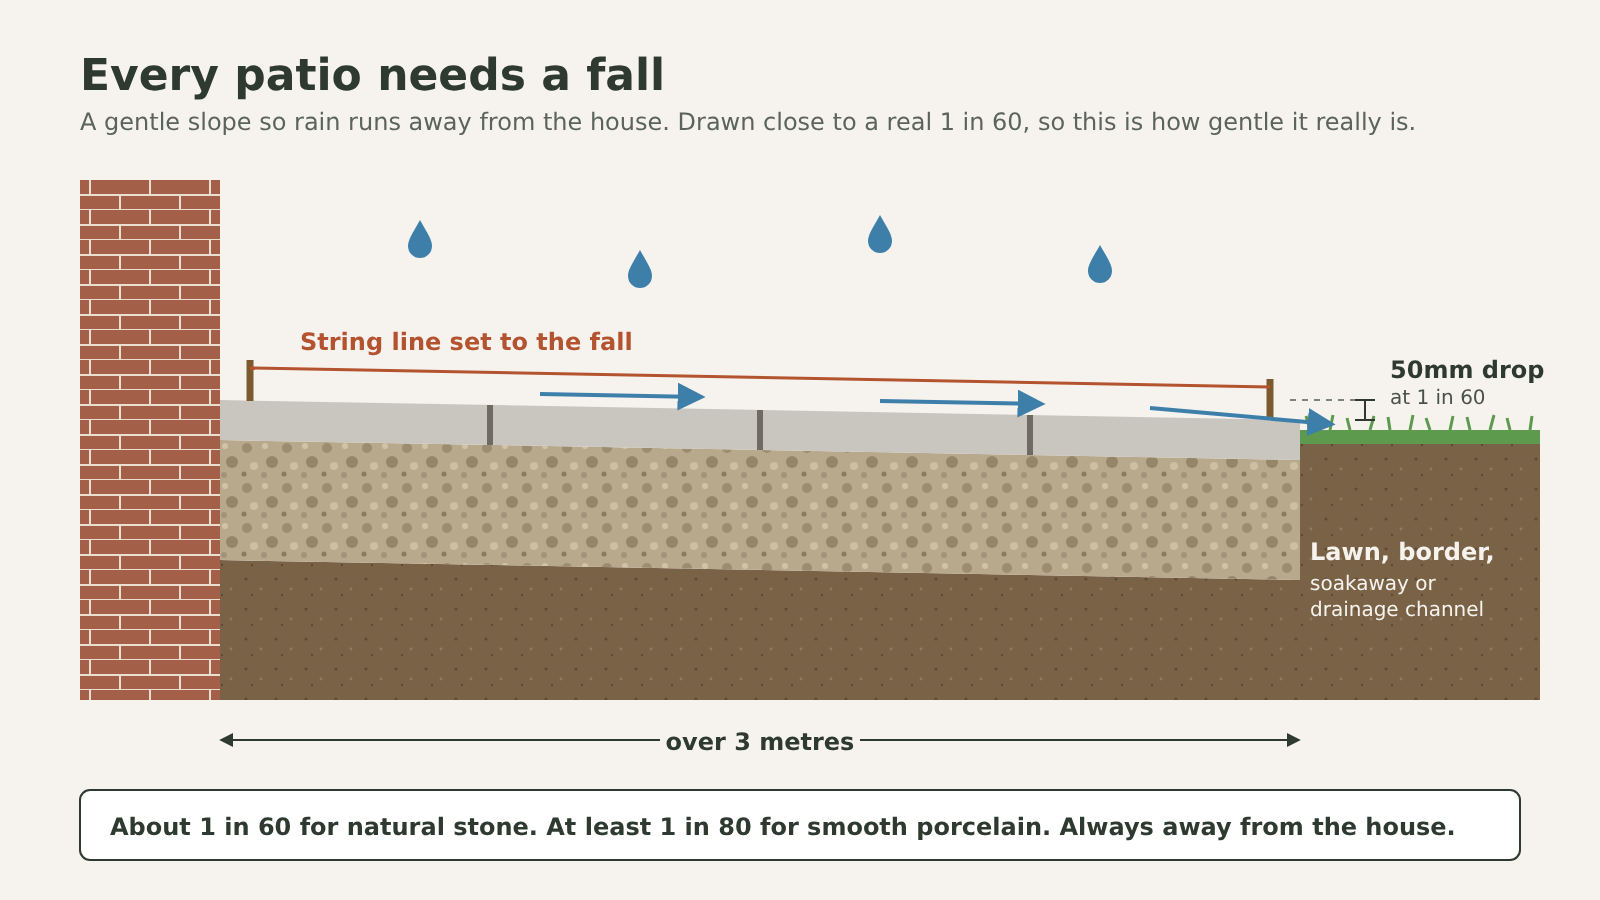
A patio should never be perfectly level. It needs a gentle slope, called a fall, so rain runs off rather than sitting on the surface. I work to about 1 in 60 for natural stone, and 1 in 80 as a minimum for smooth porcelain. On a 1 in 60 fall, a 3 metre patio drops 50mm from one side to the other. You won't notice it underfoot. You will notice the lack of it every time it rains.
The fall always runs away from the house, towards a lawn, a border, a soakaway or a drainage channel. I set it with string lines and pegs before any stone goes down, and the sub-base is shaped to the same fall so every layer above follows it.
If the patio is in a front garden and it's over 5 square metres, the rules on drainage tighten. Water has to drain to a permeable area or soakaway in the garden, not out onto the road, or you need planning permission.
Bedding The Slabs
Should a patio be laid on sand or mortar? For paving slabs, mortar. A sand bed works for block paving, where hundreds of small interlocking blocks share the load. A slab is too big and too rigid. On sand, it rocks, it shifts and the joints open up.
Every slab I lay goes onto a full mortar bed, about 30mm to 40mm deep, covering the whole underside. Not five dabs of mortar, one at each corner and one in the middle. That's called dot and dab, and it leaves hollows underneath. Hollows fill with water, water freezes, and slabs crack or lift.
Porcelain needs one more step. It's so dense that mortar won't grip it on its own, so the back of every porcelain slab gets a coat of slurry primer before it goes down. Skip that and a porcelain patio can sound hollow and come loose within a year.
The Joints
The gaps between slabs are the last thing to go in and the first thing people notice when they fail. I fill them with a proper jointing compound or a mortar joint, pushed fully down to the bed, not just skimmed across the top. Kiln-dried sand in the joints of a slab patio washes out, grows weeds and gives ants a home.
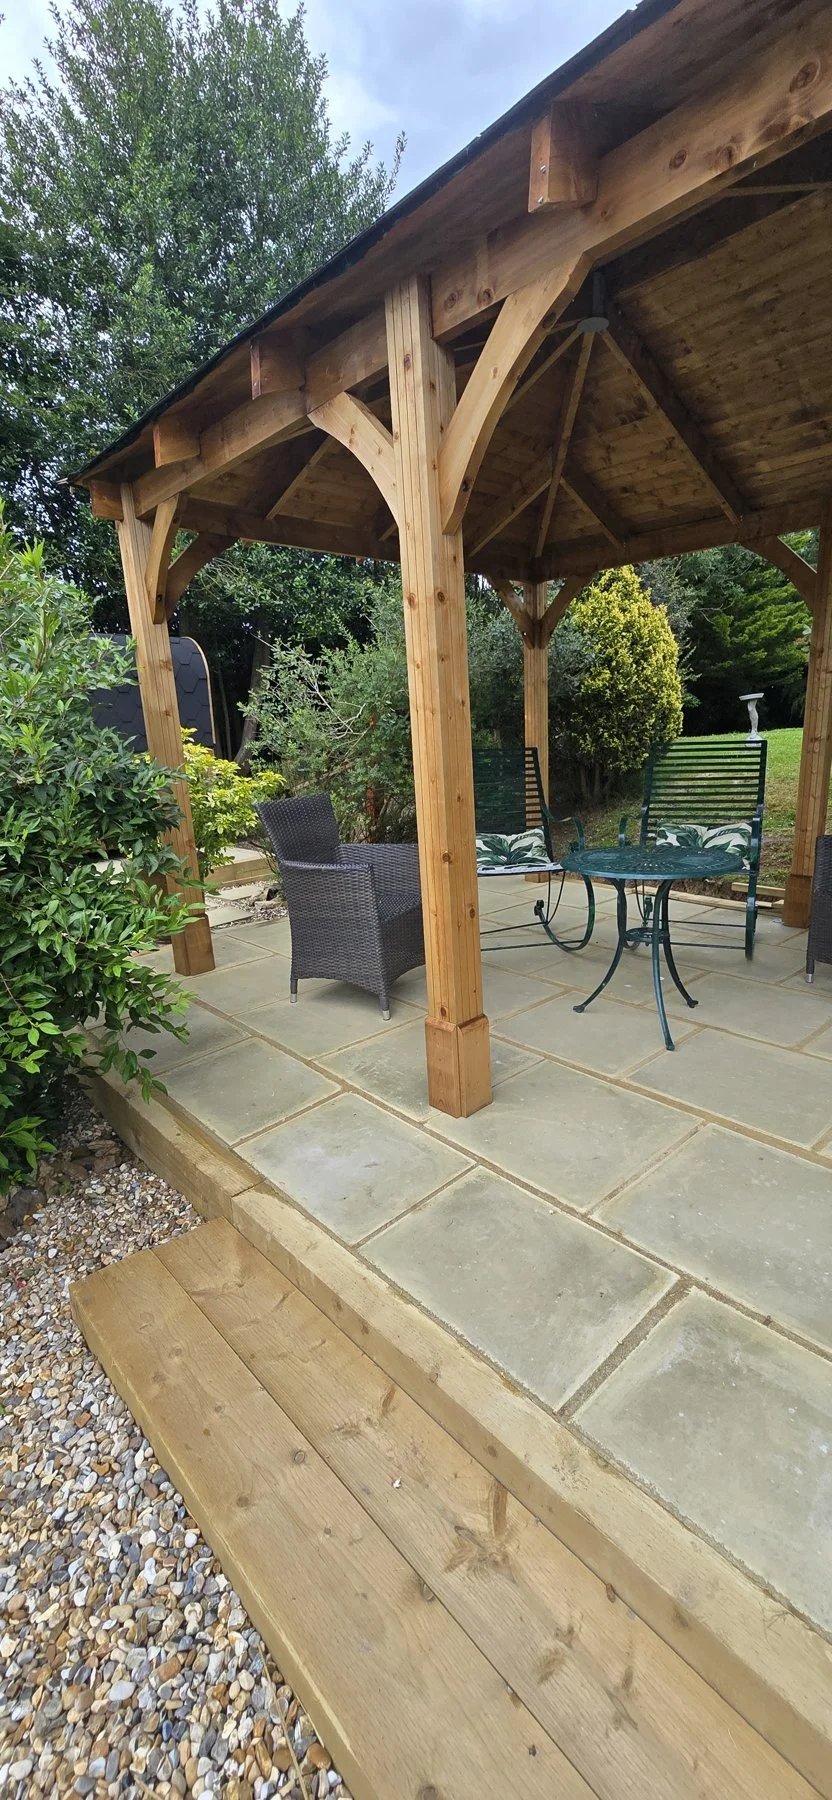
Then it needs time. Mortar needs to cure before the patio takes furniture, barbecues or a party.
Why Patios Sink
It’s usually, one of five things. None of them would have shown on the day it was finished.
Not enough sub-base, or none at all. Slabs laid straight onto soil or a thin layer of sand.
Sub-base not compacted, or compacted in one thick layer instead of several thin ones.
Topsoil or roots left in, which rot and leave voids.
Dot and dab bedding, leaving hollows that fill with water and freeze.
No fall, so water sits on top, soaks the joints and works its way underneath.
The fix for almost all of these is the same, and it isn't cheap. Lift it, dig it out and do it properly. Which is why I'd rather you paid for it once.
Questions to Ask
If you're comparing quotes, these five questions will tell you more than the price will.
How deep will you dig, and what sub-base depth is that?
What sub-base material, and how will it be compacted?
What fall will you lay it to, and where will the water go?
Is it a full mortar bed? For porcelain, will you prime the slabs?
What goes in the joints?
A good landscaper will answer every one without hesitating. If they can't, you've found where the price difference went.
To find out how I can help, call 01323 885 248 or email hello@jojoeatelier.co.uk
A Quick Guide to Patio Foundations
How deep should a patio base be? For a garden patio on firm ground, 100mm of compacted MOT Type 1 sub-base, plus a 30mm to 40mm mortar bed and the paving itself. That means digging out about 150mm to 200mm in total. Clay or soft ground needs 150mm of sub-base or more.
Can you lay a patio straight onto soil? No. Soil moves, holds water and shrinks as it dries. Without a compacted sub-base, slabs will sink and rock.
What's the best sub-base for a patio? MOT Type 1 crushed stone, laid over a geotextile membrane and compacted in layers with a plate compactor.
Should a patio be laid on sand or cement? Paving slabs should go on a full mortar bed. Sand beds are for block paving, not slabs.
What fall does a patio need? Around 1 in 60 for natural stone and at least 1 in 80 for porcelain, always sloping away from the house.
How far below the damp proof course should a patio be? At least 150mm below the DPC, so rain can't splash above it.
Why are my patio slabs rocking? Usually dot and dab bedding, a loose sub-base, or organic soil left underneath. Rocking slabs need lifting and relaying on a full bed.
Do I need planning permission for a patio? In a back garden, usually not. In a front garden, a new hard surface over 5 square metres needs permission unless it's permeable or drains into the garden.
How long does a patio take to set before I can use it? You can usually walk on it carefully after 24 to 48 hours. Give it about a week before heavy furniture or a barbecue, longer in cold weather.